
How to Put Drops in Your Dog’s Ears Without a Struggle

If your veterinarian has prescribed ear medication, the goal is simple: get the drops into the ear canal safely, cleanly, and on schedule. The hard part is usually not the medicine itself. It’s the dog who flinches, shakes, backs away, or decides the whole process is deeply unfair.
Some dogs are naturally alert or cautious, and that can make ear treatment feel harder than it should. The good news is that ear drops are usually manageable at home when the ear is not too painful and you follow the label exactly.
This guide walks you through the practical parts: what to gather, how to position your dog, where the drops actually go, what head shaking means, and when to stop and call the vet.
What to Know Before You Start
The first rule is non-negotiable: use only the ear drops your veterinarian prescribed for your dog and this specific problem. Human ear medication, leftover pet medication, or a product “similar to” the one on the label can be the wrong drug, wrong strength, or wrong formulation.
Do not start home treatment unless the veterinarian has already diagnosed the ear problem and prescribed these drops for that condition. If the ear is extremely painful, the canal looks badly swollen shut, there is bleeding, or your dog is too reactive to handle safely, forcing the issue can make the problem worse and can also make future treatment harder.
Home treatment is usually appropriate only when your vet has already examined the ear and told you to give the drops at home. If your dog growls, snaps, screams, or cannot be safely restrained, stop and call the clinic.
For general ear-health guidance, the VCA Hospitals ear care resources and the ASPCA’s dog care information are useful references, but they do not replace your veterinarian’s instructions for this prescription.
Gather the Medication and Supplies
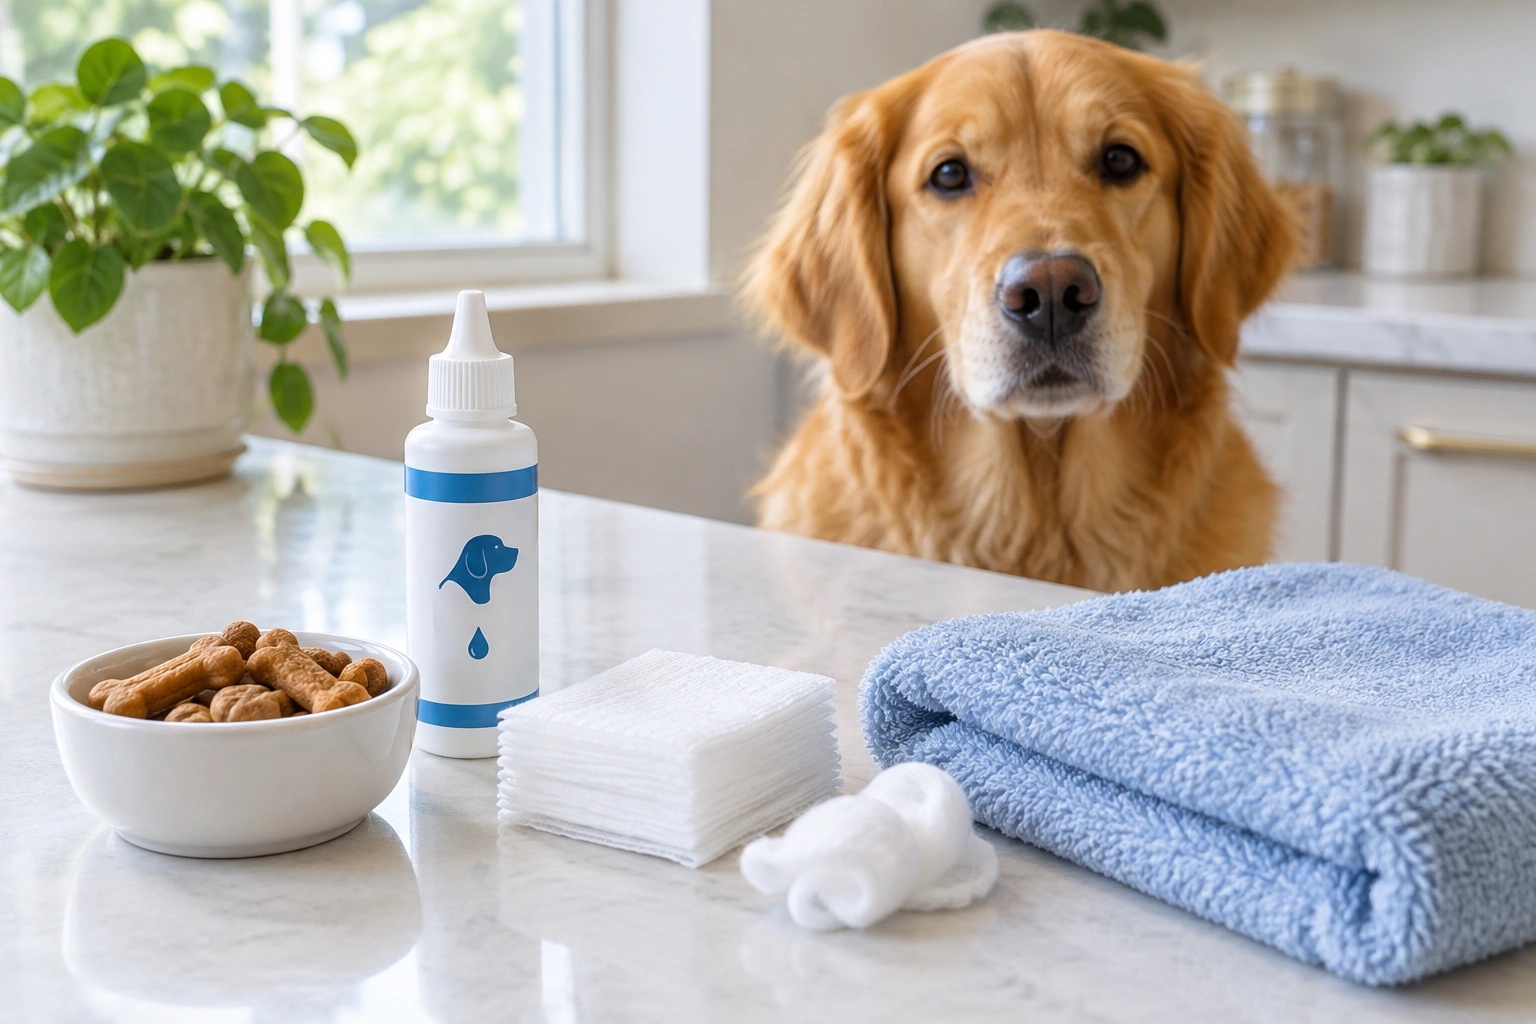
Have everything ready before you bring your dog over. That keeps the process short, which matters more than people think.
You’ll usually want:
– The prescribed ear drops
– Treats your dog values
– A towel or gauze for cleanup
– Any ear cleaner your veterinarian specifically told you to use
– A calm helper, if your dog tends to move around a lot
Keep the bottle closed until you are ready. If the dropper tip touches fur, skin, or the ear, it can pick up debris. That matters because contaminated medication is harder to keep clean and may be less pleasant to use.
If you’re also using an ear cleaner, do not assume it replaces medication. Cleaning and medication are different jobs. Cleaning removes debris; drops deliver the treatment. Some ears need both, some need only medication, and some should not be cleaned at home unless your vet said so.
Read the Label and Confirm the Dose
Before you touch your dog, check three things on the label or vet instructions:
- How many drops per ear
- How often to give them
- How long the course should continue
This is not the place to improvise. A treatment that is given too rarely may not work well. A treatment that is given too often can irritate the ear or use up medication faster than intended. If the label says to continue for a set number of days, finish that course unless your vet tells you otherwise.
If the bottle has directions that seem unclear, call the clinic before the next dose. That is much better than guessing.
One practical habit helps a lot: write the schedule somewhere visible, such as on the fridge or in your phone notes. Ear treatment is easiest to miss when the dog starts acting better before the ear is truly healed.
Set Up a Calm, Low-Stress Environment
Choose a quiet spot with good footing. A bathroom, laundry room, or kitchen corner often works better than a slippery hallway or a place where the dog can spin away from you.
Timing matters too. A short walk, a potty break, or a few minutes of calm play can lower restlessness. For a dog that is especially alert, giving the brain a small job before treatment often helps more than trying to muscle through the moment.
Keep your own movements slow and predictable. Dogs usually react more to the rush than to the drops themselves. If you sound tense, your dog often assumes something is wrong.
A small treat before you begin can help, but save the best reward for after the drops are done. That gives the dog a reason to stay involved until the end.
Position and Restrain Your Dog Safely
There are two common ways to do this: one person or two.
One-person method
If your dog is fairly cooperative, stand or kneel beside them, not directly over them. Keep one arm lightly around the body if needed, and use your other hand to lift the ear flap. The goal is steady control, not a wrestling match.
For smaller dogs, a towel wrap around the body can reduce squirming. Leave the head accessible and avoid wrapping so tightly that the dog becomes more anxious.
Two-person method
For nervous or wiggly dogs, one person can steady the chest and head while the other handles the medication. This usually works better than trying to do everything alone. The helper should keep the hold gentle and neutral, not pinning the dog down hard.
The trade-off is simple: firmer restraint may get the dose done faster, but too much force can make the dog dread the next treatment. Use only as much restraint as needed for safety and accuracy.
Lift the Ear Flap and Place the Drops Correctly
Once the dog is steady, lift the ear flap so you can see the opening of the ear canal. Aim the drops into that canal opening, not onto the outer ear flap or fur.
Hold the bottle as directed on the label and place the prescribed number of drops into the canal. Try not to touch the dropper tip to the ear. If the tip touches the skin or fur, wipe it only if your product instructions allow that, and be careful not to contaminate the bottle.
You do not need to force the applicator deep into the ear. In fact, you should not. The point is to deliver the medication to the opening of the canal where it can work its way in.
If your dog moves as you’re applying the drops, pause and reset. Rushing usually wastes more medicine than it saves.
Massage the Ear Base and Let the Dog Shake
After the drops are in, gently massage the base of the ear for a few seconds, unless your veterinarian told you not to. You are not trying to squeeze the ear. You are helping the medication move through the canal.
Then let your dog shake. Head shaking right after treatment is common, and it does not automatically mean the dose failed. Some medication will still remain in the ear even if a little comes back out.
If droplets land on your hand, the floor, or the outside of the ear, wipe them away with gauze or a towel. That is cleanup, not a sign that you need to repeat the whole dose unless your vet specifically told you to.
A helpful rule: if the medication went into the canal and you massaged the base, a brief shake is usually part of the process, not a reason to start over.
When to Clean the Ear First — and When Not To
This is one of the easiest places to make a mistake. Ear cleaning solutions are not the same as ear medication.
If your veterinarian told you to clean the ear first, follow that plan exactly. Some products are meant to loosen wax or debris before treatment. In those cases, the timing matters, so follow the exact order and timing your clinic or label gives you before applying the drops.
If your vet did not instruct cleaning, skip it. Cleaning an already painful or inflamed ear can make the dog more reactive and can interfere with treatment in some cases.
A simple comparison helps:
| Situation | Usually the better move |
|---|---|
| Ear is dirty but vet prescribed cleaner plus drops | Clean first, then give drops as directed |
| Ear is painful, swollen, or very sensitive | Stop and ask the vet before cleaning |
| Vet prescribed drops only | Give the drops; do not add cleaning on your own |
| You are unsure whether debris should be removed | Call the clinic for clarification |
If you want a general overview of dog care routines and handling, The Kennel Club’s dog advice sections can be helpful background reading, but your vet’s plan still overrides general guidance.
How to Handle a Dog That Resists, Growls, or Seems Painful
Some resistance is normal. Pulling away once, blinking, or trying to shake during the setup is not unusual. What matters is the intensity.
Stop and reassess if your dog:
– Growls, snaps, or tries to bite
– Screams or cries when the ear is touched
– Jerks away hard enough that you cannot safely continue
– Has an ear that looks severely swollen, bleeding, or extremely inflamed
That level of reaction suggests the ear may be too painful for home handling, or the dog may need a different approach from the clinic. Forcing drops into a dog that is escalating can create an injury risk for both of you.
If the dog is nervous but not painful, try a lower-stress setup next time: more distance from distractions, a helper, and a shorter, calmer routine. If the dog appears painful, don’t “train through” the problem. Call the veterinarian.
Aftercare, Rewards, and Staying on Schedule
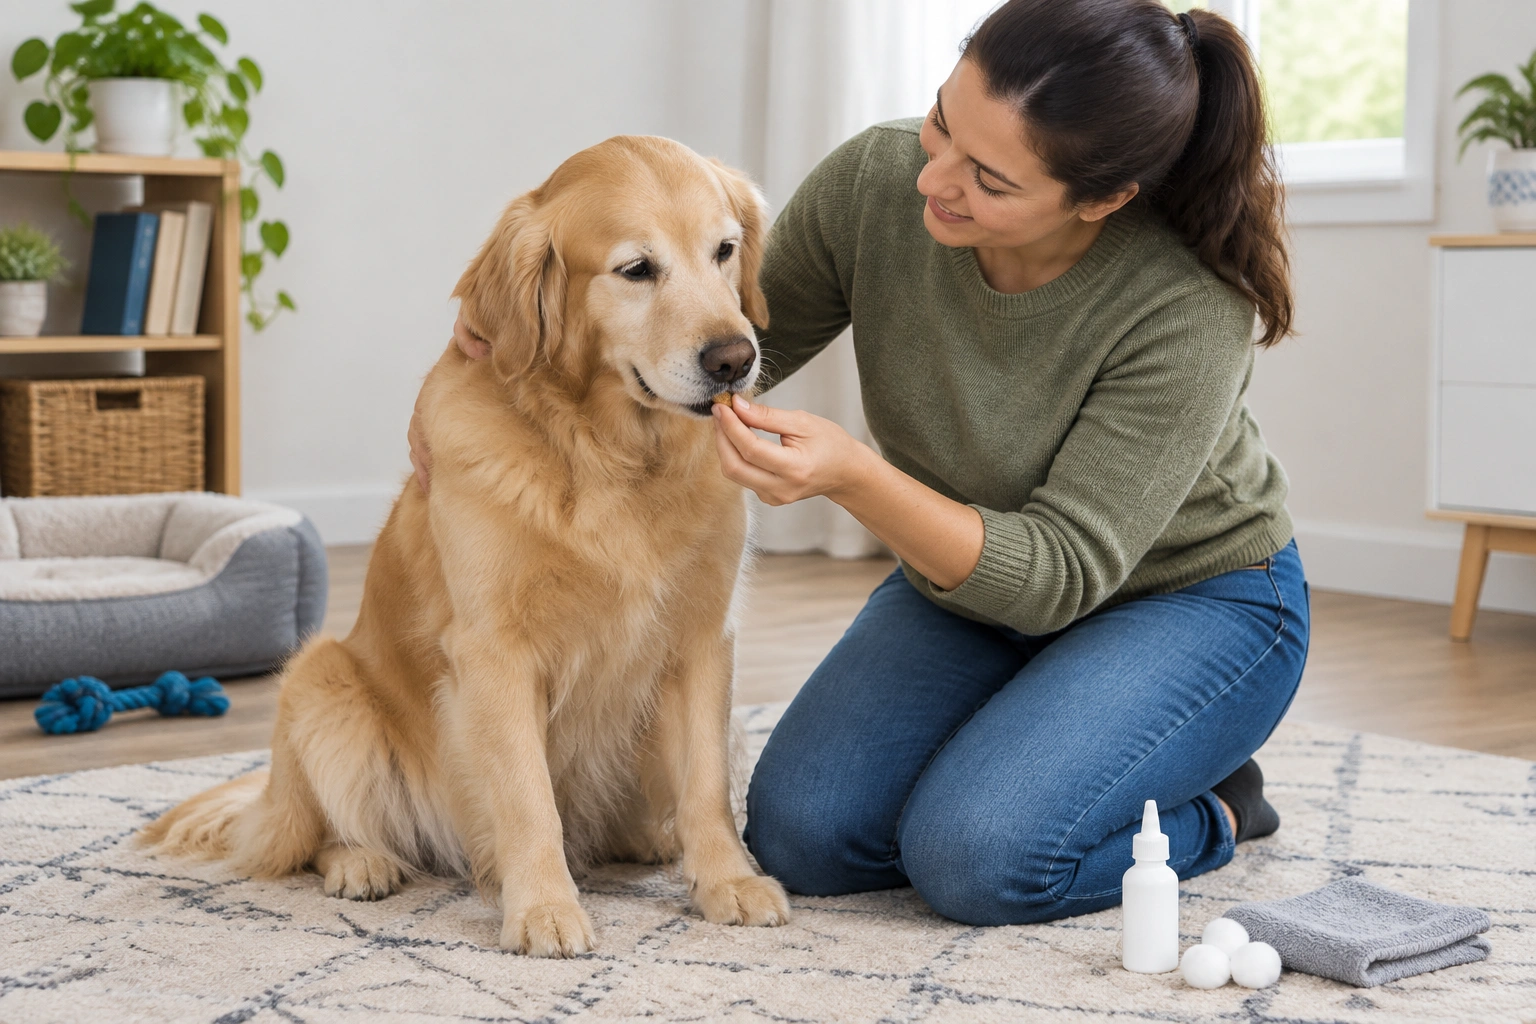
Once the drops are done, praise the dog calmly and give the reward you saved for the end. That helps the dog connect cooperation with something good, which makes the next dose easier.
Clean any medication off the fur or floor so the area does not become slippery. Then return to normal life without making a big event out of it. The less dramatic the ending, the less your dog has to brace for next time.
The schedule matters as much as the technique. If the label says twice daily, that means twice daily. If it says to continue for the full course, finish it unless your vet changes the plan. Stopping early because the ear “looks better” can let the problem return.
For dogs that struggle with handling, short practice sessions away from treatment can help. Touch the ear flap gently, reward calmness, and stop before the dog gets worried. That makes the actual medication routine less surprising later.
When to Contact the Veterinarian
Call your veterinarian if you notice any of the following:
– Bleeding from the ear
– A strong foul odor that worsens
– Marked swelling
– Sudden increase in pain
– Worsening redness or discharge
– No improvement by the time your vet expected
– Your dog cannot tolerate treatment at home
Also call if you think the wrong medication was used, the dose was missed repeatedly, or the bottle tip may have been contaminated.
If your dog’s ear problem is not improving, the issue may need a recheck rather than more force at home. Ear infections and inflammation can change quickly, and the treatment plan sometimes needs adjustment.
Quick Answers to Common Questions
How many drops should I use?
Use the exact number on the prescription label or the instructions from your vet. Do not estimate.
What if the dog shakes its head right after?
That can be normal. A brief shake does not automatically mean the dose failed.
Should I warm the bottle first?
If the medication feels cold, some dogs tolerate it better when it is closer to room temperature. If the label gives storage instructions, follow those first.
Can I use a cotton swab inside the ear?
No. Do not insert cotton swabs deep into the canal. If you need to wipe visible runoff, use gauze or a cotton ball on the outside only.
What if I miss a dose?
Follow the instructions on the label or call your vet for the best next step. Do not double up unless you are told to.
Final Thought
Putting ear drops in a dog’s ears gets much easier when you treat it like a short, repeatable routine instead of a struggle. Calm setup, correct placement, and strict attention to the prescription are what make the difference.
If the ear is too painful to handle, that is not a failure on your part. It is a sign to pause and bring the problem back to the veterinarian.